Aerosols and Atmospheric Clarity: The Hidden Factor in Golden Hour
Why some golden hours glow and others fall flat. Learn how haze, dust, smoke, and air clarity shape color, contrast, depth, and better PhotoWeather rules.
Aerosols and Atmospheric Clarity: The Hidden Factor in Golden Hour
You can have the right sun angle, the right clouds, and the right location, and still come home with a flat golden-hour frame.
Usually the missing piece is the air itself.
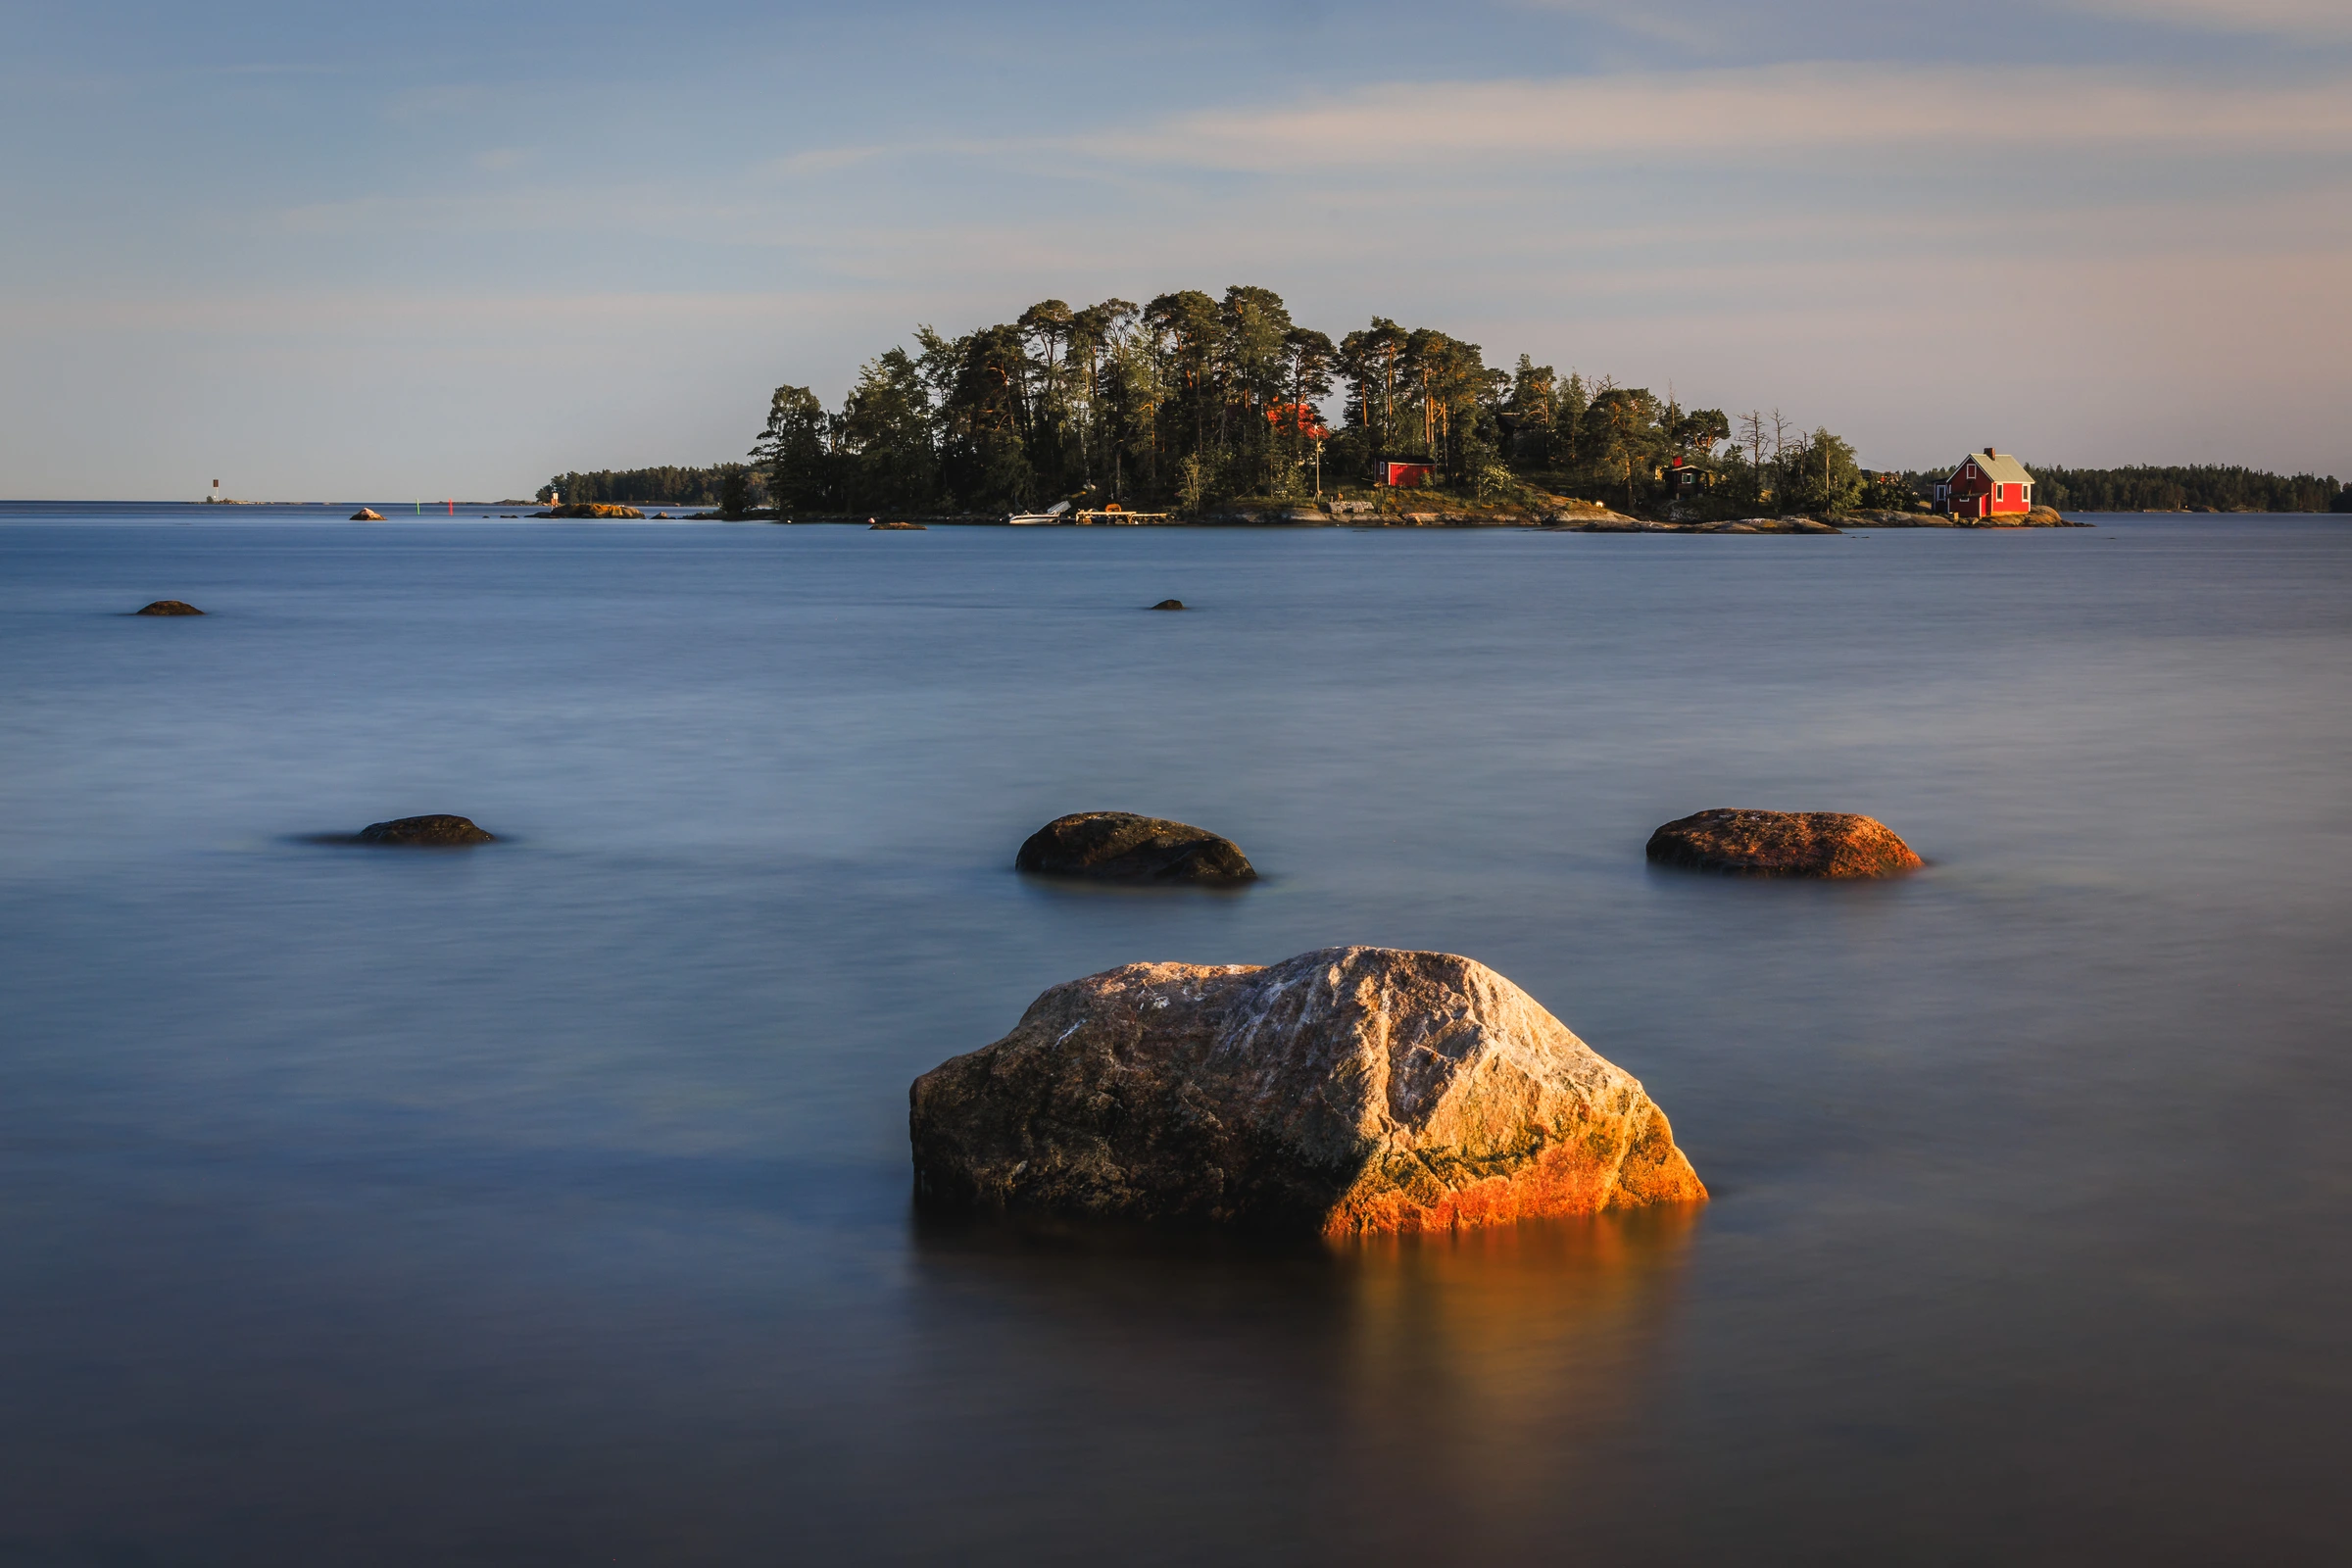
Some evenings the light stays clean and luminous. Distant ridges remain sharp. Warm tones build gradually and hold their color. Other evenings the whole scene turns milky, brownish, or dull. The sun is low, but the magic never really arrives.
That difference often comes down to aerosols: tiny particles suspended in the air.
For photographers, aerosols matter because they shape three things at once:
- light quality
- color quality
- how much depth you can actually see
PhotoWeather includes atmospheric clarity tools for exactly this reason. If you understand how to read them, you can stop treating haze as a mystery and start using it on purpose.
What aerosols actually are
Aerosols are tiny particles floating in the atmosphere.
For photography, the important ones are usually:
- dust from dry ground or long-range dust transport
- smoke from wildfires, burning, or urban pollution
- sea spray near coasts
- general airborne particles that create haze even when the sky looks mostly clear
You do not need to think about them as chemistry.
Think of them as the material that sunlight has to pass through before it reaches your scene.
The more particles in the air, the more the light gets scattered, softened, filtered, or blocked. Sometimes that helps. Often it does not. The key is knowing which kind of haze you are dealing with and how much of it is too much.
Why aerosols change golden hour so much
Golden hour already sends light through a long path of atmosphere because the sun is low. That makes the air especially important.
When the air is clean, golden hour tends to give you:
- cleaner color separation
- stronger contrast in distant subjects
- crisper edges on mountains, skylines, and cloud layers
- more natural-looking oranges, pinks, and blues
When the air has a little haze, you often get:
- softer transitions in the light
- gentler contrast
- more atmosphere in layered landscapes
- a slightly warmer, more diffused look
When the air is too hazy, you usually lose:
- distant detail
- color saturation
- local contrast
- that clean glow photographers often mean when they say the light felt “clear”
That is why two sunsets with the same cloud forecast can photograph very differently.
Clean air vs. hazy air: which is better?
Neither is always better. It depends on what you are trying to make.
| Style | Better air choice | Why |
|---|---|---|
| Wide mountain landscapes | Clean air | Distant ridges stay separated, colors stay richer, and the whole frame holds detail better. |
| City skylines and long telephoto views | Clean air | Haze quickly destroys contrast at distance. |
| Astrophotography | Very clean air | Even light haze weakens stars and dulls the sky. |
| Layered hills and valleys | Light to moderate haze | A little haze creates tonal separation between layers and adds depth. |
| Moody coastal scenes | Some marine haze can help | A bit of softness can make the scene feel atmospheric instead of clinical. |
| Graphic sunsets with a strong sun disk | Depends on the haze type | Light dust may help; smoke often makes the color dirtier and the scene flatter. |
A practical way to think about it:
- If your subject is far away and needs detail, aim for clarity.
- If your subject depends on depth and mood, a little haze can be useful.
- If the haze is thick enough to turn the scene grey or brown, it is usually too much.
Not all haze behaves the same way
This is where generic weather apps fall short. They may tell you visibility is lower, but not why.
For photography, the cause matters.
Dust
Dust often creates a warm-toned haze.
At low concentrations, that can help sunrise and sunset by giving the light a little more warmth and softness. In layered landscapes, it can also make distance feel more dimensional.
But the useful range is fairly narrow. Once dust gets heavy, the scene loses bite quickly. Mountains that should look sculpted start looking pasted into the background.
A good rule of thumb from the PhotoWeather data:
- Light dust can be interesting for warm skies and atmosphere
- Heavy dust usually means weaker clarity and lower contrast
Smoke and pollution
Smoke is the one to respect.
It tends to create the kind of haze photographers usually dislike most:
- grey or brown cast
- weak contrast
- dirty-looking color
- rapid loss of detail with distance
A red sun through smoke can look dramatic to the eye, but that does not automatically mean the whole scene will photograph well. Often you get a striking sun disk and a lifeless landscape underneath it.
In PhotoWeather, smoke is surfaced as a practical Smoke AOD field. Under the hood, it combines smoke-related particle components into one number you can actually use in rules, instead of making you read raw aerosol chemistry.
If your goal is clean, high-quality golden-hour color, smoke is usually something to limit strictly.
Sea spray and marine haze
Coastal air is rarely perfectly clean.
Sea salt in the air can soften distant detail, especially with onshore wind and humid conditions. That is not always bad. For seascapes, a little marine haze often adds mood and helps bright sunlight feel less harsh.
The problem starts when the haze gets thick enough that headlands, islands, or distant cliffs lose their shape.
So for coastal photography, the question is usually not “is there haze?” but “is there a manageable amount of haze?”
When haze actually improves photos
Photographers often say they want “clear air,” but that is only half true.
For layered landscapes, perfectly clean air can sometimes make distance look flatter than expected. Every ridge is equally crisp. The frame can feel more documentary than atmospheric.
A little haze can improve this by creating natural separation between layers:
- the nearest ridge stays dark and defined
- the next ridge fades slightly
- the next one fades more
- the background dissolves into light
That progression is what gives many mountain, valley, and coastal images their sense of depth.
The trick is to look for light to moderate haze, not heavy murk.
If you can still read the shape of each layer, haze is helping. If the far layers collapse into one pale mass, haze is taking too much away.
This is one reason atmospheric clarity data is so useful. You can aim for some softness without flying blind.
What PhotoWeather actually shows you
PhotoWeather pulls aerosol forecast data from CAMS, the Copernicus Atmosphere Monitoring Service, and turns it into a few practical fields for photographers.
The most useful ones are:
Atmospheric Clarity Score
This is the simplest place to start.
It combines overall haze, visibility, humidity, and the type of particles in the air into one score from 0 to 100.
A practical reading guide:
| Score | Semantic Level | What it usually means |
|---|---|---|
| 85-100 | Pristine | Exceptional optical conditions. Clean air, maximum color saturation, and perfect distant detail. |
| 70-84 | Excellent | Very clear air. Strong distant detail, very good for landscapes and night sky work. |
| 55-69 | Good | Good clarity. Some haze may be present, but still workable for most photography. |
| 40-54 | Moderate | Noticeable haze. Often fine for mood or layered scenes, less ideal for crisp distance. |
| Below 40 | Poor | Heavy haze, smoke, or other poor-clarity conditions. Usually better for close subjects than distant ones. |
If you do not want to interpret several aerosol fields separately, use this score first.
Aerosol Optical Depth
This is the overall measure of how much haze is in the air.
Lower numbers mean clearer air.
A practical reading guide from the product:
| Total haze reading | What it usually means |
|---|---|
| Below 0.10 | Excellent clarity |
| 0.10-0.30 | Light haze to moderate haze |
| Above 0.50 | Noticeable to strong haze |
For crisp landscapes, lower is usually better. For layered scenes, the middle range can sometimes be useful.
Dust AOD
Use this when you want to know whether the haze is likely to be warm and dusty rather than smoky.
A little dust can be attractive around sunrise and sunset. Too much usually costs you more detail than it gives back.
Smoke AOD
Use this to catch wildfire smoke or pollution haze before it ruins the shoot.
If this climbs, be more skeptical of what looks like a “promising” golden hour. The sky color may still happen, but the landscape often suffers.
Sea Salt AOD
This helps explain that soft marine look you often get near the coast.
If you shoot seascapes, this is useful for telling the difference between a pleasantly atmospheric coast and a washed-out one.
How to use atmospheric clarity in rules
All of these clarity fields are available as rule inputs in PhotoWeather, and they are especially useful in the Weather Chart and rule builder.
A good workflow is:
- Open the Weather Chart for your location
- Enable Atmospheric Clarity Score
- Add Aerosol Optical Depth, plus Dust AOD, Smoke AOD, or Sea Salt AOD if relevant to your area
- Compare those lines with your sunrise or sunset window
- Build one rule around the kind of air you actually want
Start simple. One clarity rule is usually better than five overbuilt ones.
Three practical rule ideas
1. Crisp golden-hour landscape rule
Best for mountains, long views, skylines, and clean color.
- Atmospheric Clarity Score ≥ 80
- Aerosol Optical Depth ≤ 0.10
- Smoke AOD ≤ 0.03
- Visibility ≥ 20 km
- Add your usual sunrise or sunset timing condition
This is the rule for days when you want detail to hold all the way into the distance.
2. Layered landscape rule
Best for valleys, ridges, and atmospheric depth.
- Atmospheric Clarity Score between 45 and 70
- Aerosol Optical Depth between 0.10 and 0.25
- Smoke AOD ≤ 0.05
- Optional: Dust AOD ≤ 0.12 to keep the haze gentle rather than heavy
- Add a sunrise or sunset timing condition
This intentionally allows some haze, but tries to keep it clean enough that the layers still separate well.
3. Coastal mood rule
Best for seascapes where a little softness can help.
- Atmospheric Clarity Score ≥ 55
- Sea Salt AOD between 0.03 and 0.10
- Smoke AOD low
- Add your preferred golden-hour window
This avoids chasing totally washed-out coastal air while still allowing the marine softness that often suits the subject.
A simple way to decide in the field
If you are checking the chart before leaving home, ask yourself three questions:
1. Do I want detail or atmosphere?
If you want detail, favor a high clarity score and low overall haze.
If you want atmosphere, allow some haze—but keep smoke controlled.
2. What kind of haze is it?
- Dust can be workable in moderation
- Sea spray can suit coastal work in moderation
- Smoke is usually the hardest one to make look clean
3. Will the haze help the subject I actually have?
A little softness can improve distant layers.
The same softness can ruin a long telephoto cityscape.
The number only becomes useful once you connect it to the subject in front of you.
Start with one rule, then adjust
If you are new to this part of the forecast, begin with just two fields:
- Atmospheric Clarity Score
- Smoke AOD
That already tells you a lot.
After a few shoots, you will start to notice your own preferences.
Some photographers love very clear air and only want alerts when the scene will be crisp and vivid. Others prefer a little haze because it gives valleys, coastlines, and backlit landscapes more depth.
The useful shift is this: instead of saying “the light looked disappointing for some reason,” you can start saying “the air was too dirty,” “there was just enough haze for layering,” or “this was a clean-air evening and I should have taken the long lens.”
That is what atmospheric clarity data is really for.
Not more numbers for their own sake. Just better decisions before golden hour arrives.